
Udacity Self-Driving Car Engineer Nanodegree program
The second lesson of the Udacity Self-Driving Car Nanodegree program is actually a lesson followed by a project. In “Finding Lane Lines”, my colleague Ryan Keenan and I teach students how to use computer vision to extract lane lines from a video of a car driving down the road.
Students are able to use this approach to find lane lines within the first week of the Nanodegree program! This isn’t the only way to find lane lines, and with modern machine learning algorithms it’s no longer the absolute best way to find lane lines. But it’s pretty effective, and it’s amazing how quickly you can get going with this approach.
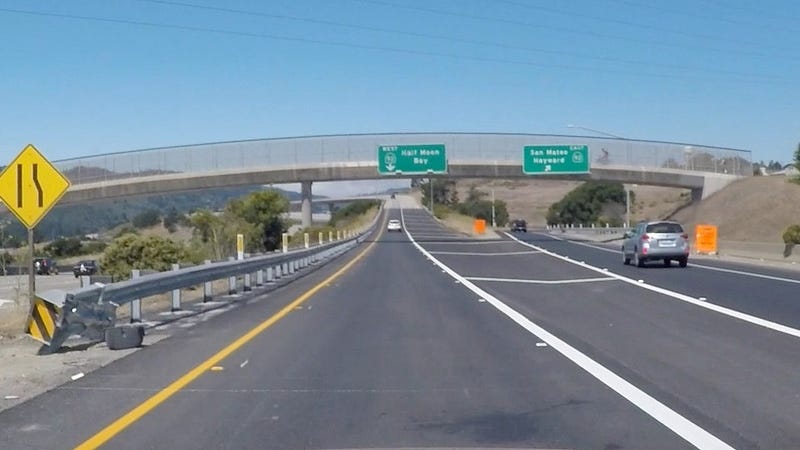
Here’s a photo of Interstate 280, taken from Carla, Udacity’s own self-driving car:
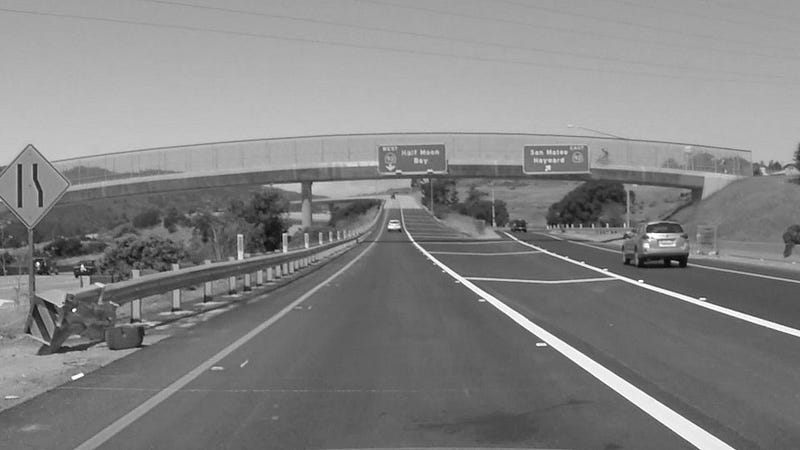
The first thing we’re going to do is convert the image to grayscale, which will make it easier to work with, since we’ll only have one color channel:
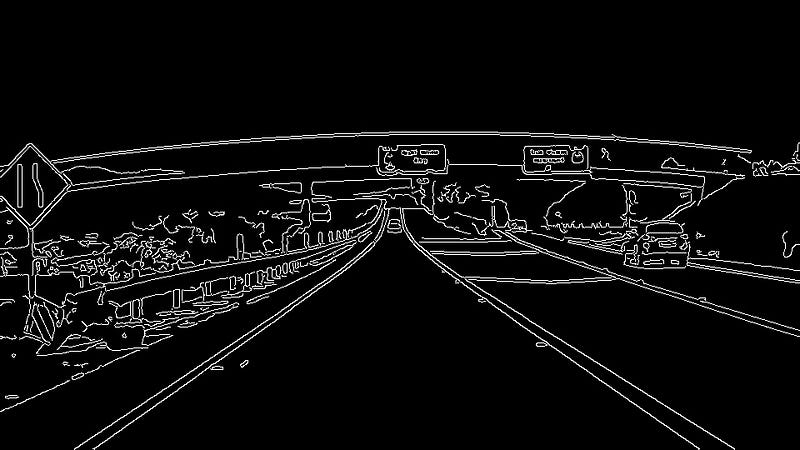
Next, we’ll perform “Canny edge detection” to identify edges in the image. An edge is place where the color or intensity of the image changes sharply:
Now that we have the edges of the image identified, we can use a technique called a “Hough transform” to find lines in the image that might be the lane lines we are looking for:

All of these tools have various parameters we can tune: how sharp should the edges be, how long should the lines be, what should the slope of the line be. If we tune the parameters just right, we can get a lock on our lane lines:

Apply these lane lines to the original image, and you get something like this “Finding Lane Lines” project, submitted by our student Jeremy Shannon:
Pretty awesome for the first week!
